

Some cyclists are content to just “run what they brung.” But some (you might call them bike geeks) are addicted to tweaking, upgrading, and customizing their ride in the pursuit of perfection. If that sounds like you, it might be worth it to think about building your own bike component by component, from the frame up.
While it’s not as easy or affordable as simply buying a complete bike, building a bike piece by piece allows you to fully customize the spec. If you want to spend your money on a particular component and save somewhere else, you can. When you pick your own parts, the cranks will be the right length, the bars will be the perfect width and shape, the saddle will fit immediately, and every little part will be just how you want it to be. This approach isn’t for everyone, but building a bike up from a bare frame can be one of the most rewarding things a gearhead can experience.
[button]SHOP BIKE FRAMES[/button]
Building your own bike: The cost
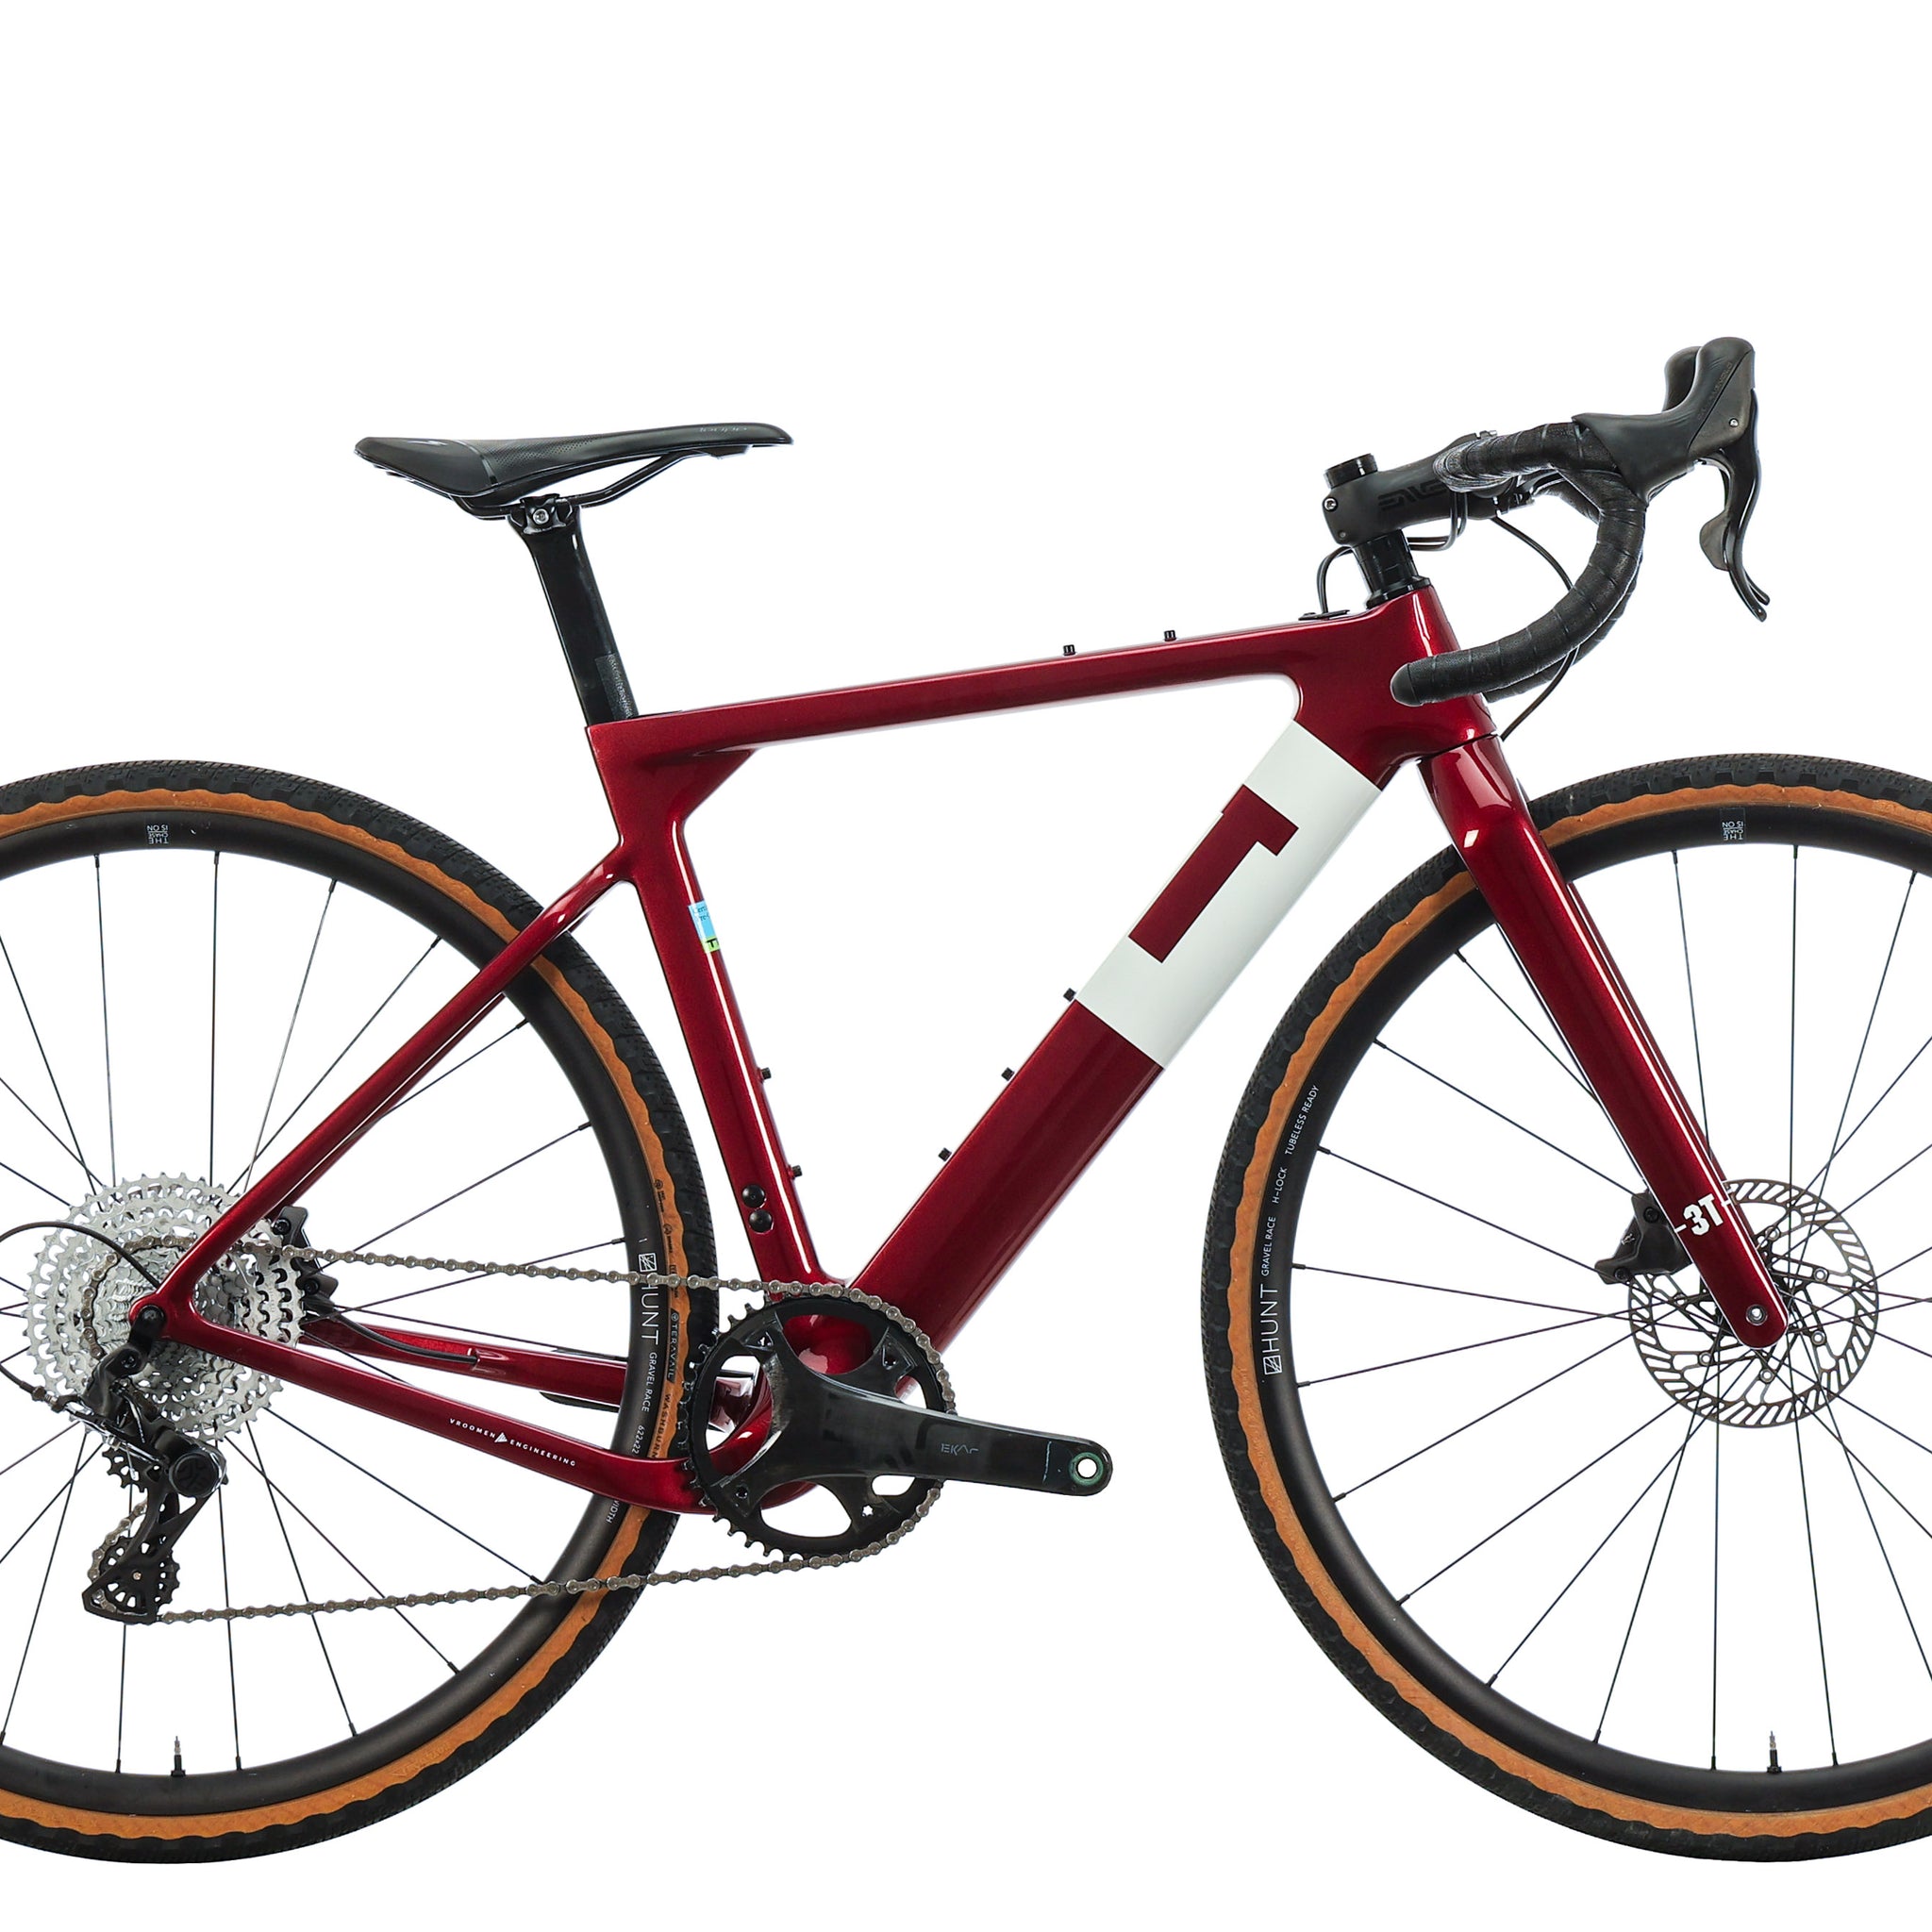
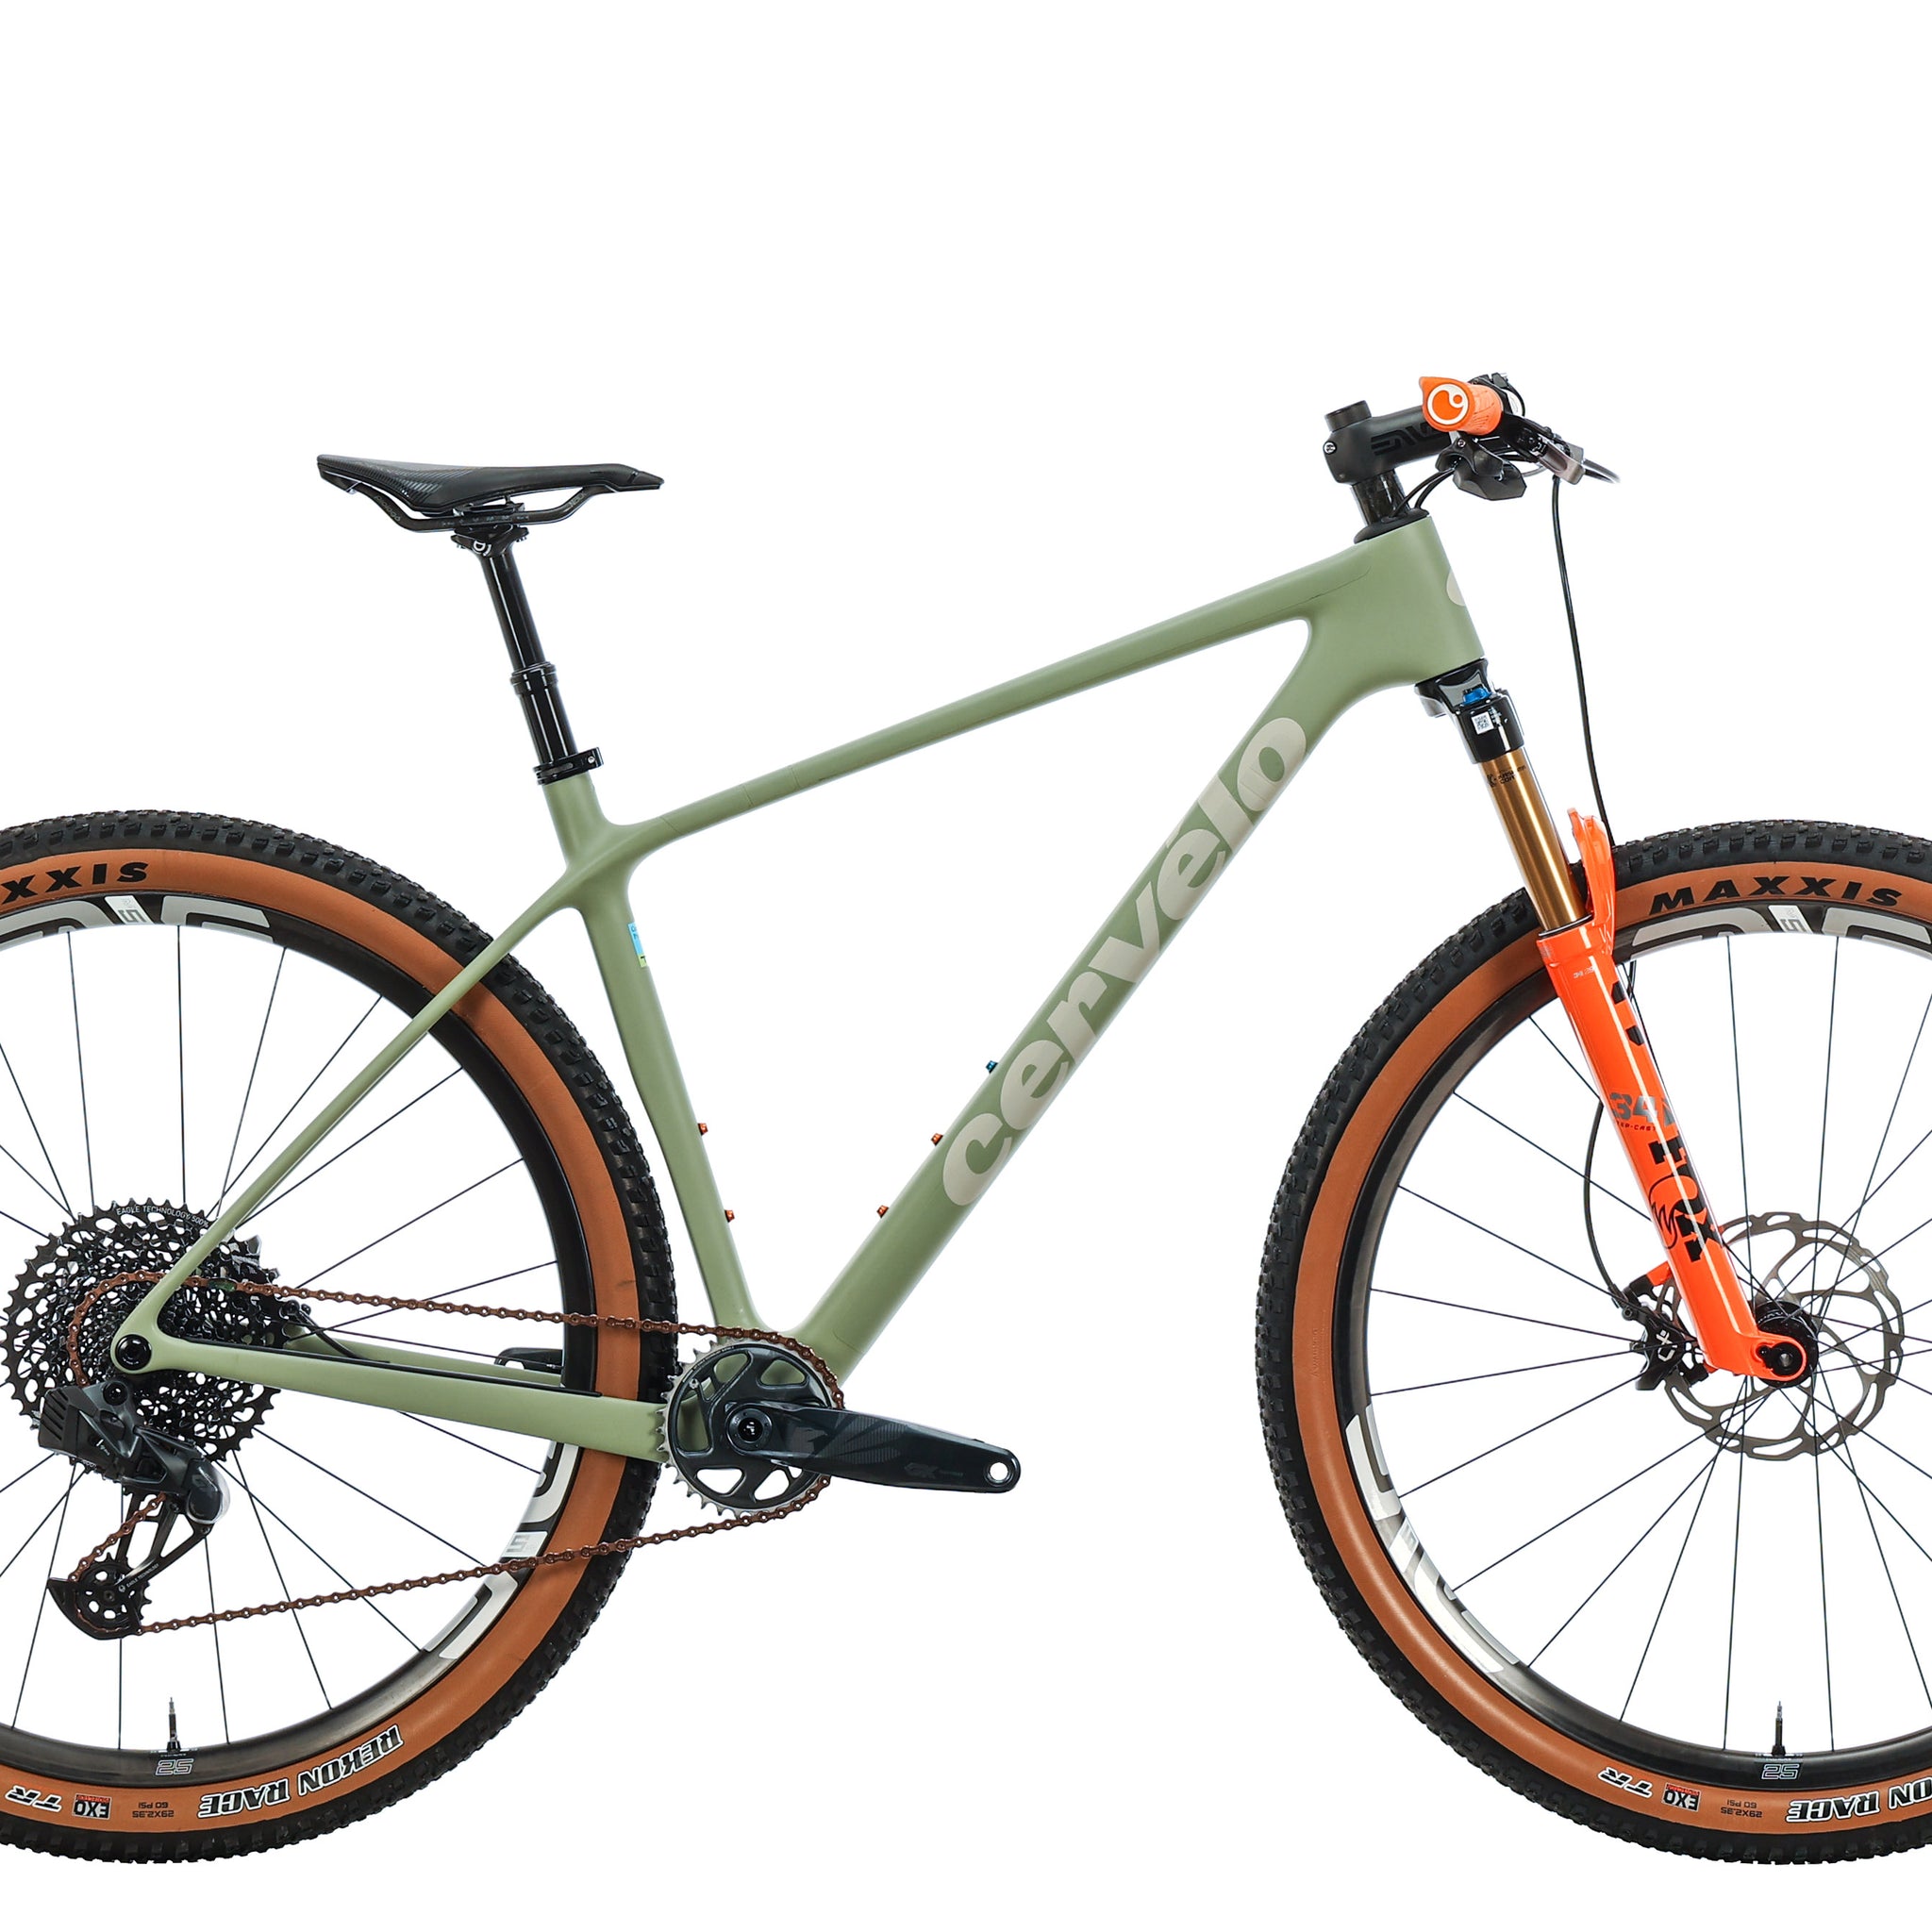
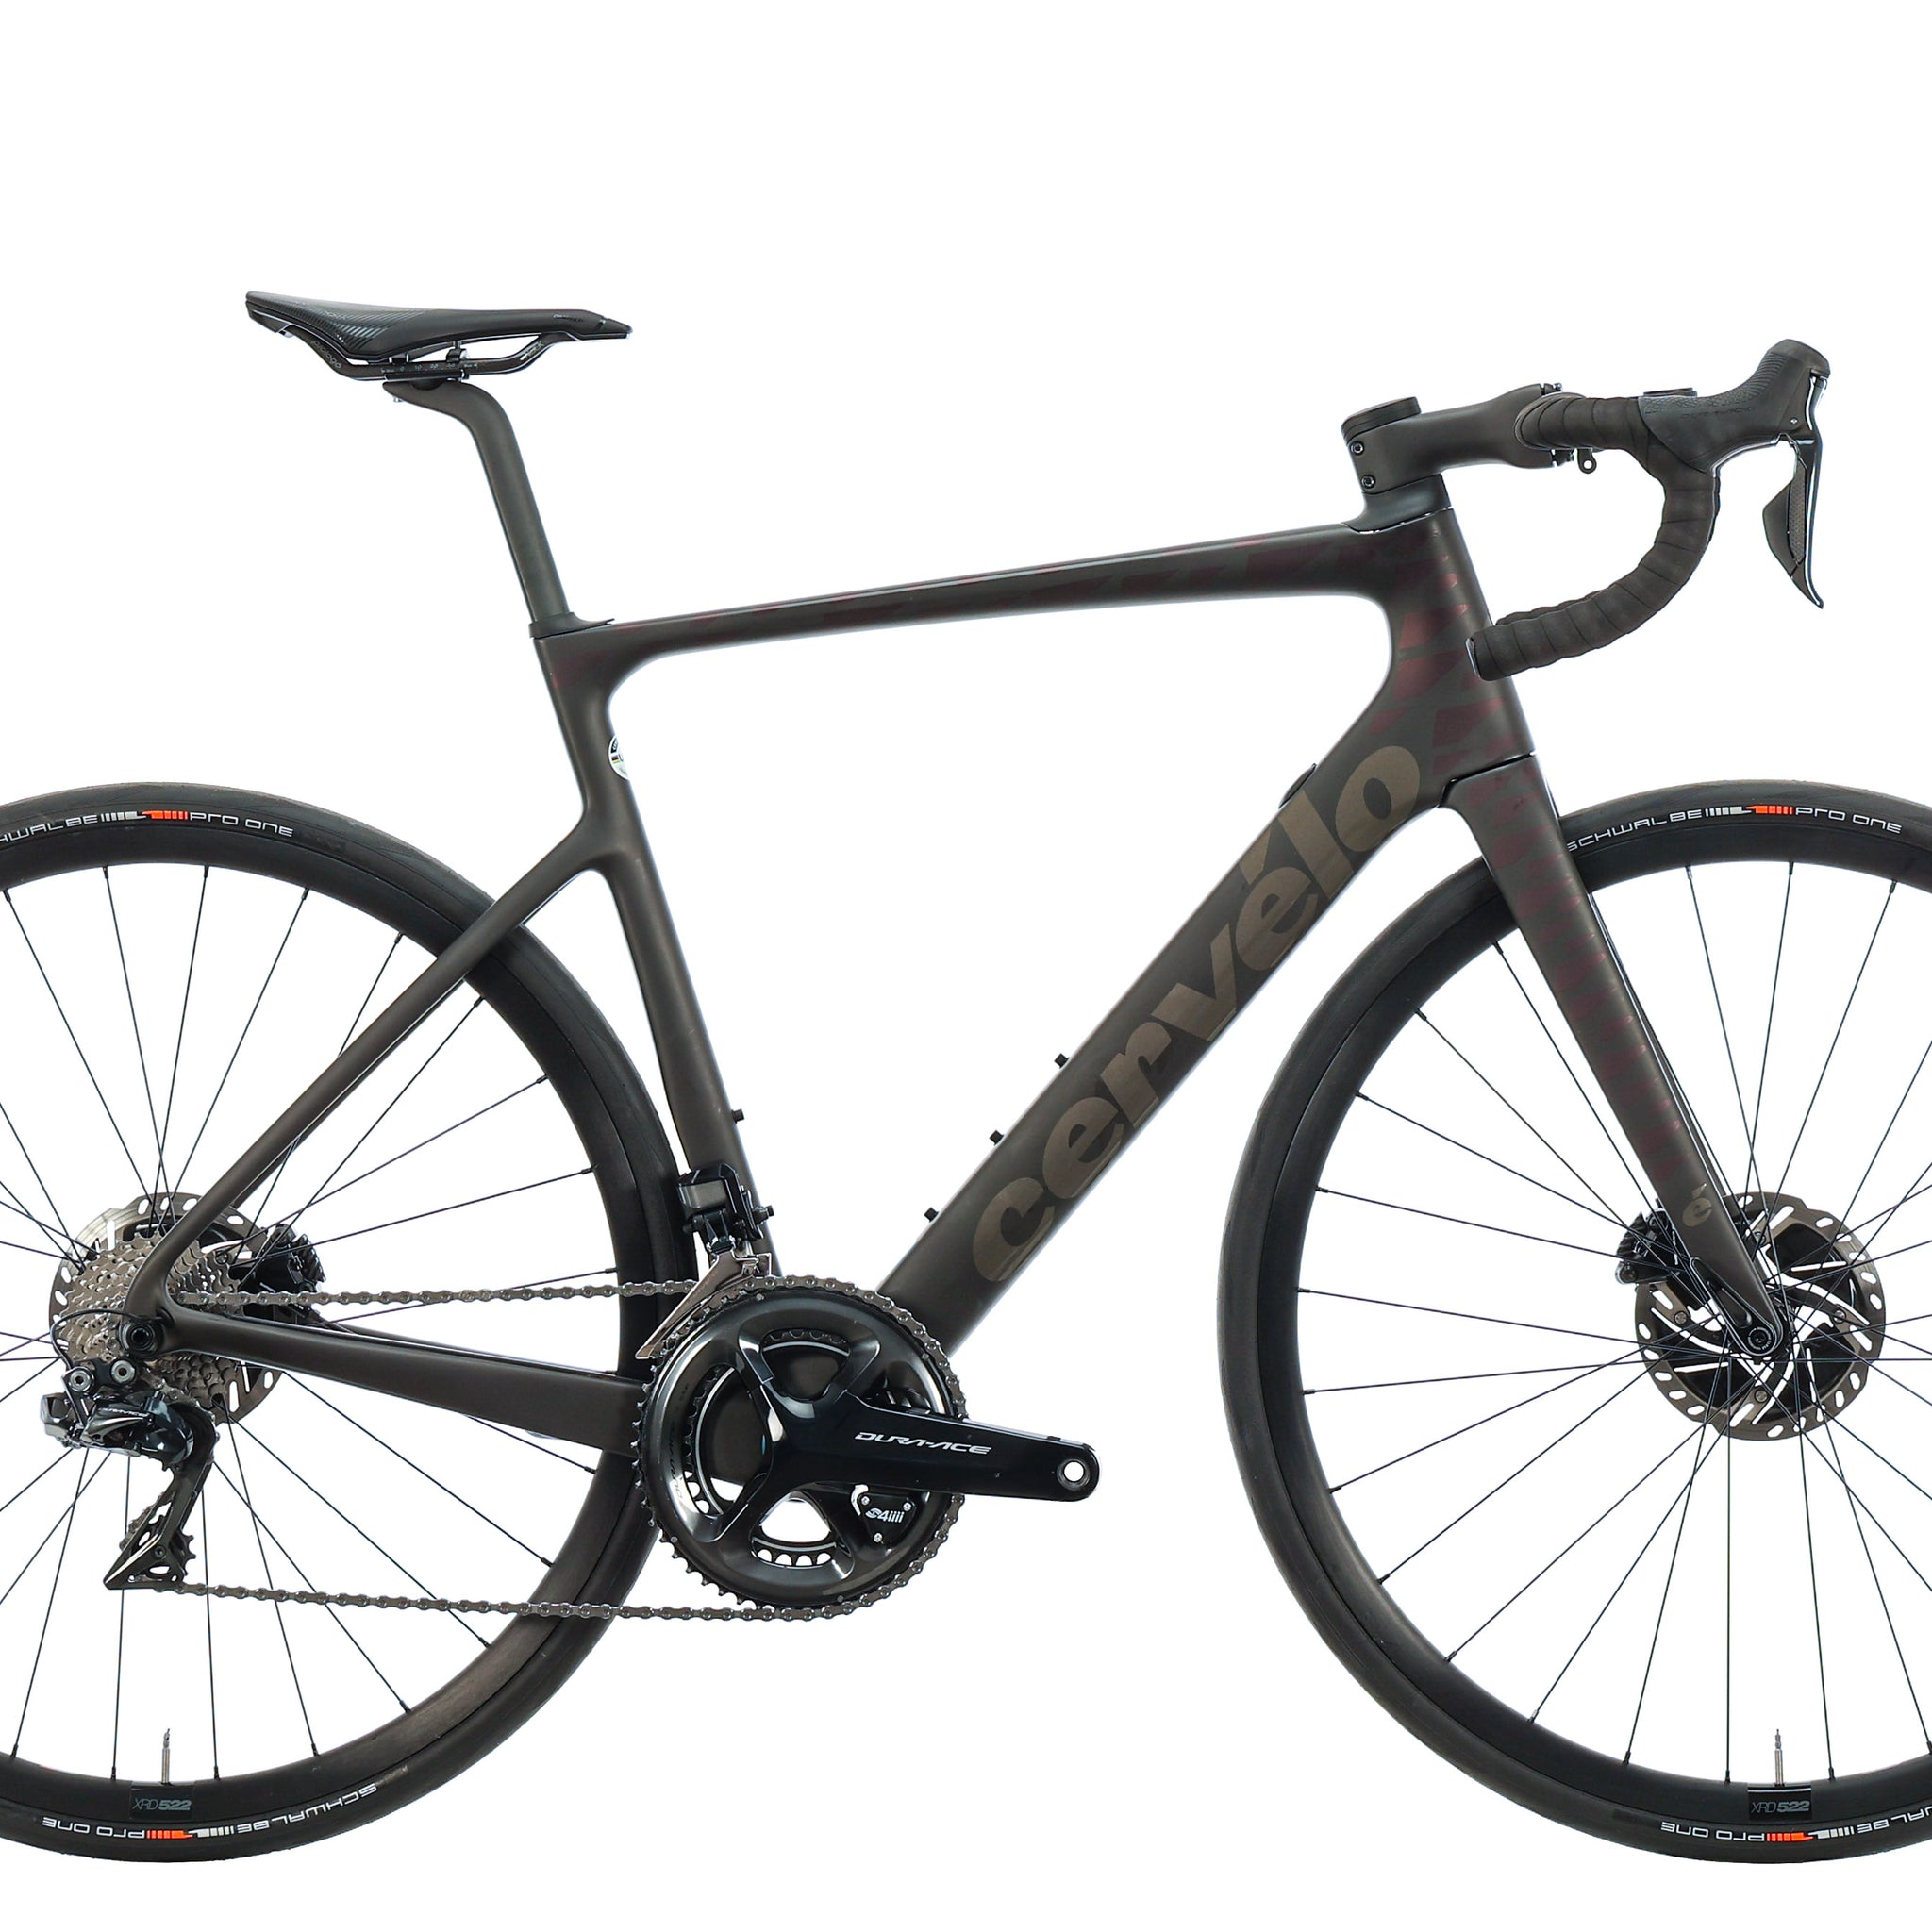
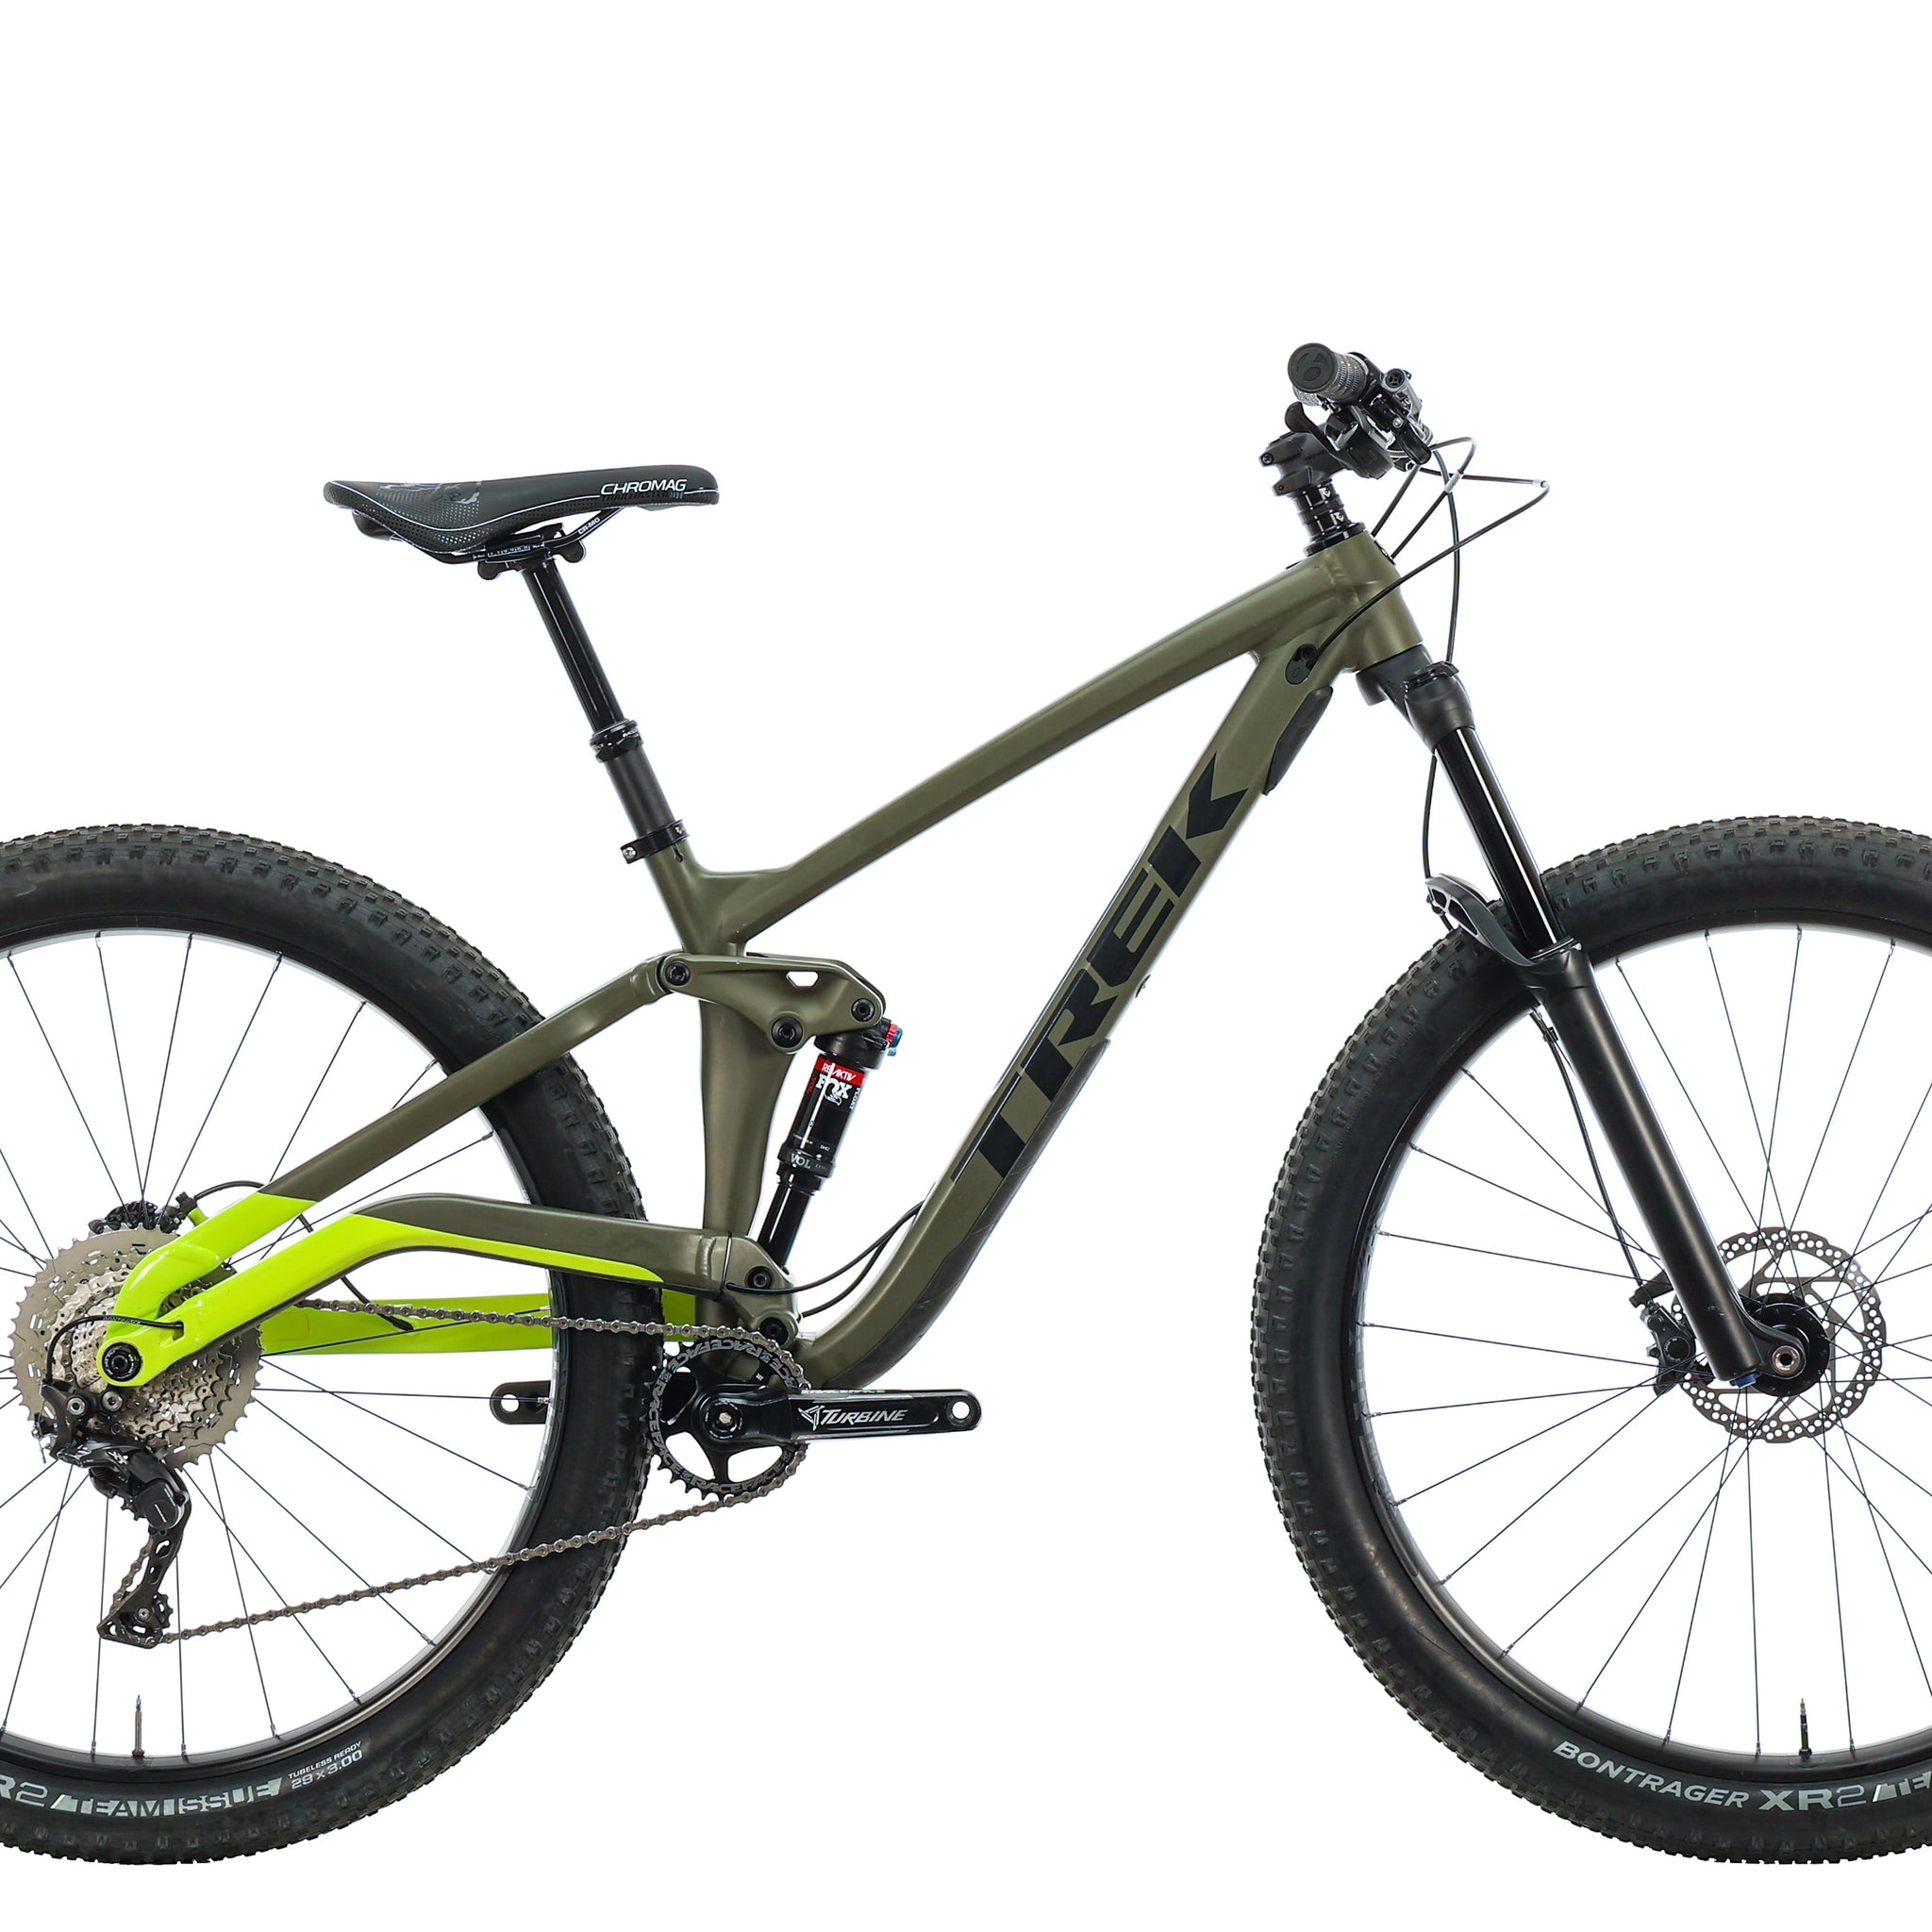
 Starting with a bare frame allowed me to build my dream race bike for just a bit more than an off-the-shelf model.
The conventional wisdom is that it costs less to buy a complete bike when compared to building one up from a frame. This is true for the most part. Bike manufacturers have deals with component manufacturers, and buy in large quantities that allow them to keep prices lower. It costs Specialized and Trek a lot less to purchase the same crankset than it costs for you to buy it yourself.
By hunting for sales and good deals, however, the frugal, patient, and tenacious buyer is often rewarded with builds that come out close to what an equivalent complete bike would have cost. With the deals available on lightly used frames and components, building up a frame can sometimes even be the cheaper option.
Another option is to take components off your current frame and transfer them to a new frame. Switching just the frame is, in a way, the easiest way to get on a new bike without breaking the bank. I have a high-end SRAM drivetrain that’s now breathed life into multiple mountain bike frames. My carbon wheels travel from bike to bike and will likely continue to do so for a couple more years.
How to build a bike: Mechanical know-how
 More than anything, it's the technical challenge that stops many cyclists from building their own bike. Buying a complete is just easier. But building a bike is really not that hard! It just takes patience, perseverance, and the right tools. We live in an age of information, and there’s no reason that any buyer with just a sliver of mechanical aptitude shouldn’t be able to figure out how to put together a bike. In fact, it's probably the best way to learn how bikes work and how to fix and maintain them.
YouTube is now one of the best tools available to learn what goes into building a bike. There are countless Vloggers now who record and stream the complete process of assembling their own builds so you can watch along and learn. PArts compatibility is another concern, but if you have the will to do the research (or consult our expert Ride Guides!), it's actually easy to figure out what parts particular frames need (more on that below).
Parts Needed:

- Frame
- Fork
- Wheels & tires
- Drivetrain: Shifters, crankset, bottom bracket, derailleurs, chain
- Brakes (and brake rotors for disc)
- Cables and housing for mechanical drivetrains / Di2 wire for Di2 drivetrains
- Seatpost (+remote for dropper seatposts)
- Saddle
- Handlebars + grips/bartape
- Stem
- Headset (if not included with frame)
- Pedals
Tools needed:

- Bike stand
- Metric Hex wrench set
- T25 Torx wrench
- Bottom bracket wrench / bearing press (bearing presses are needed for pressfit bottom brackets and some headsets too)
- Cable routing tool (useful for internally routed frames)
- Hacksaw and cutting guide (for cutting steerer tubes and MTB handlebars)
- Star nut and crown race install tool (usually only for MTB forks, and it's possible to get away with a hammer)
- Cable and housing cutter (for mechanical drivetrains and dropper seatposts)
- Brake bleed kit and hose cutter for hydraulic brakes
- Cassette lockring tool
- Torque wrench
- Grease
- Carbon assembly paste (if using carbon handlebars or seatposts)
Mechanical tasks:
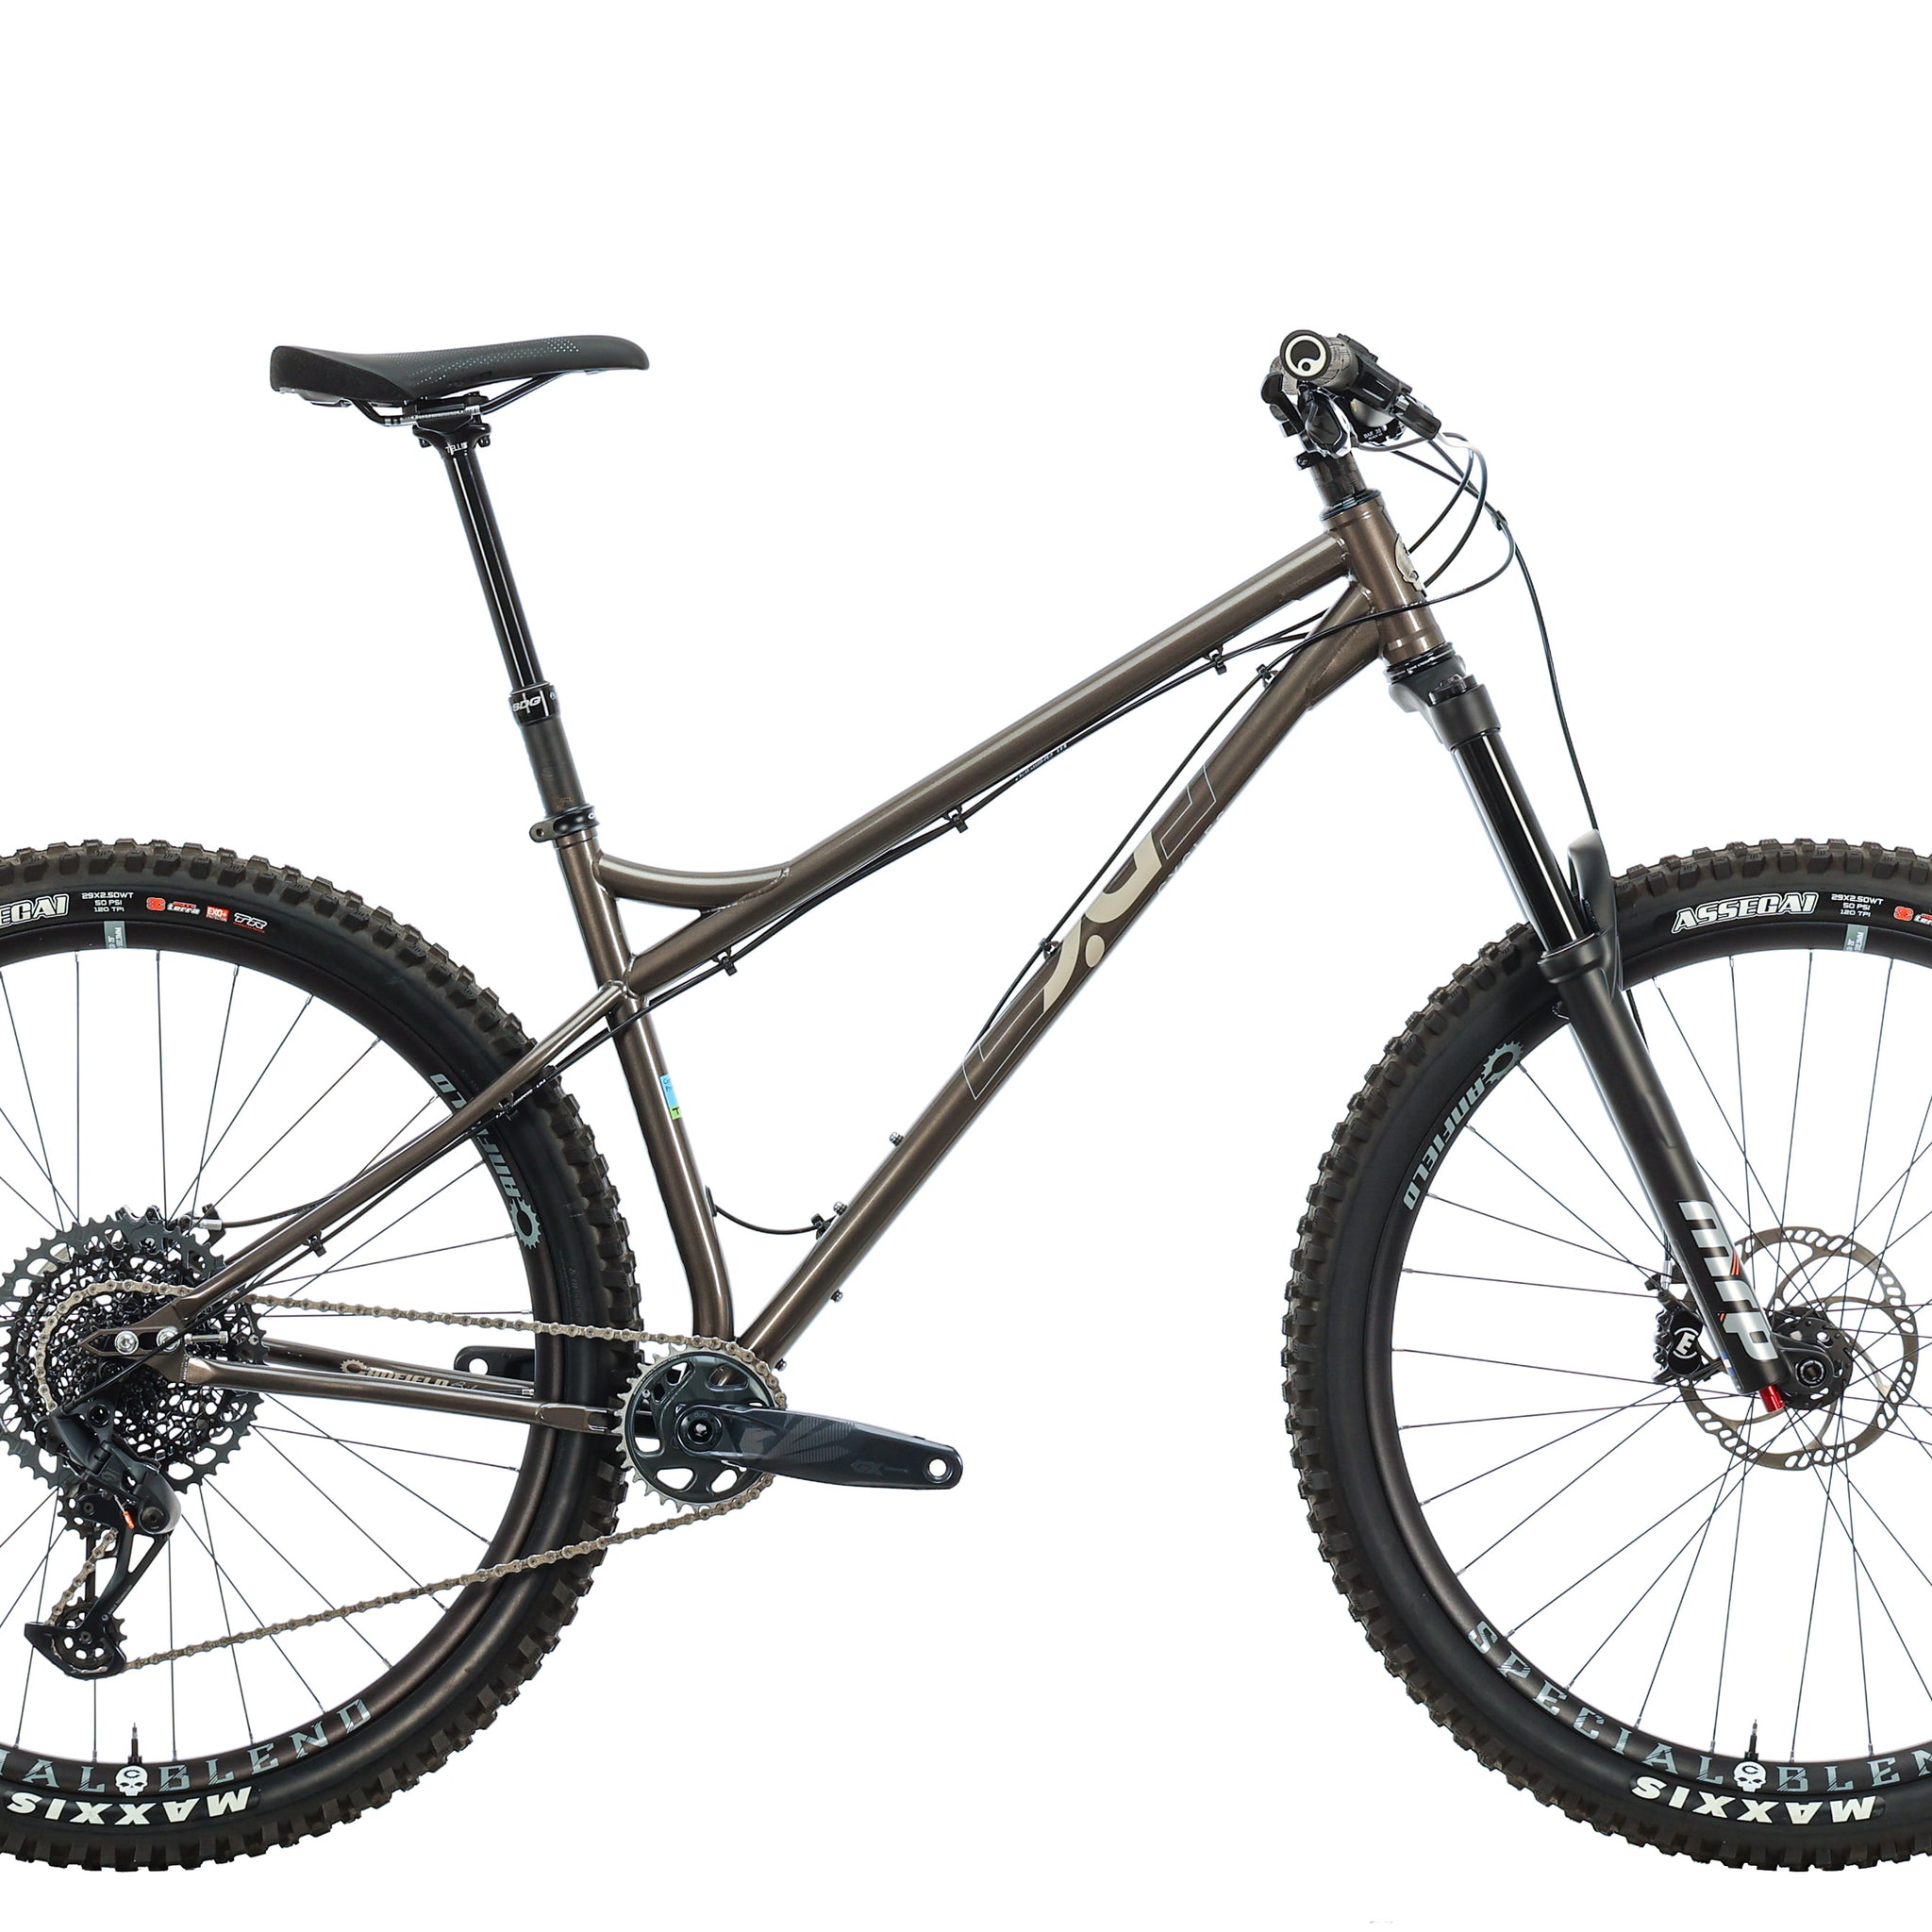
For me, the best way to learn is to watch other people build their own bikes. Want to see an example? Watch me build my new mountain bike from the frame up.
- Insert seatpost and put bike in a bike stand
- Install headset (and crown race on fork if applicable)
- Cut fork steerer
- Install the star nut/compression plug
- Install fork, stem, and handlebars
- Install bottom bracket and crankset
- Install derailleurs
- Install cassette on rear wheel
- Mount tires and brake rotors on wheels
- Install wheels
- Measure and install chain
- Install shifters and brakes
- Route all shift cables and housing / Di2 wires / brake hoses
- Check and adjust shifting
- Bleed brakes and cut hoses to length if needed
- Install and adjust touch points: Saddle, pedals, and handlebar grips or tape
- Take photos!
[newsletter]
Choosing components to build you own bike: Know the frame standards
There are a lot of different standards in the bike industry. If you're ordering parts online, be sure the components are compatible with your frame and each other. Here are some common bike frame standards you will have to note when preparing your own build.
Rear dropout spacing
 This is where your rear wheel’s hub fits into the frame. This determines what rear whee/hub is compatible with your frame.
Most older frames: Quick-release dropouts; 130mm wide on road bikes and 135mm wide on mountain bikes. Vintage bikes are often 126mm and fixed-gear track frames are 120mm.
Newer mountain bike frames: 12x148mm Boost spacing is the current standard — older models use the 12x142mm thru-axle standard.
Super-Boost spacing: 12x157mm. This is less common, but is seen on some new mountain bike models, such as bikes from Pivot, Evil, and Knolly.
Newer road and gravel bikes: 12x142mm thru-axles (some odd models use the less common 135mm width).
Frame brake mounts
 This is how your brakes mount to the frame.
Older mountain bike frames: Cantilever or V-brake calipers. These mount to two posts which will be on the fork legs and seat stays.
Rim brake/older road bike frames: Rim brake calipers. These mount to a single hole located in the fork crown and a seat stay bridge.
Modern mountain bike frames: Usually post-mount. Some mountain bikes use I.S. mount in the rear. I.S. mount will require the appropriate adaptor for your brake disc size. For post-mount, you might need a caliper spacer if you wish to fit a larger brake rotor.
Disc road, gravel, and cyclocross bikes: Older models have post-mounts for disc brakes. A few years ago, flat-mount disc brake calipers became the preferred standard.
Bottom bracket standards
 Ooh boy, here’s where it gets complicated. There are many bottom bracket standards, but they basically fit into two categories: threaded or pressfit. Each requires specific tools to install.
Threaded bottom brackets: Threaded bottom brackets are typically English threaded, a.k.a. BSA. Bottom bracket shells are either 68mm (typically road or gravel) or 73mm wide (often MTB). Some bikes brands (like Trek) use the newer T47 threaded bottom bracket standard. Threaded bottom brackets are easier for most home mechanics because all you need is the correct bottom bracket wrench.
Press-fit bottom brackets: There are many standards here, such as BB30, PF30, BBRight, BB386, and BB90. Generally speaking, the bearings are all pressed into the frame, not threaded. Press-fit bottom brackets typically require a bearing press to install. Above all, check your frame’s spec and match it to the correct bottom bracket before ordering. Some aftermarket companies also offer thread-together bottom brackets for press-fit frame shells. As the name implies, one side of the bottom bracket threads into the other, making install easier and reducing the likelihood of creaking.
Front derailleur
 This is nearly irrelevant on modern mountain bikes and many gravel bikes, but it’s still important for road bikes.
Braze-on front derailleur: This is a direct-mount option that doesn’t clamp the seat tube. Frames with a braze-on have a tab sticking out from the seat tube to mount the derailleur.
Seat tube clamp front derailleur: You’ll need a derailleur clamp that matches your frame’s seat tube diameter. The dimensions can be found online but it's also very easy to measure your seat tube with calipers. Common clamp sizes are 28.6mm, 31.8mm, and 34.9mm.
Seatpost diameter
 Make sure your post matches your frame. There are shims available to make smaller posts fit larger-diameter seat tubes, but that can make your build a little inelegant. Some road frames are sold with dedicated seatposts with aerodynamic shapes.
Road bikes: Unless your frame uses a proprietary seatpost, most typically use a 27.2mm post, but some will have larger diameter seatposts. Some Cannondales have 25.4mm seatposts. Some vintage and fixed-gear frames use 26.8mm seatposts.
Mountain bikes: Usually use 30.9mm or 31.6mm, but there are exceptions. Some XC models use 27.2mm posts. A few bikes use oversized 34.9mm seatposts. Brands like Cane Creek and Problem Solvers make shims if you own a smaller diameter seatpost that you want to use on a frame that accepts a larger seatpost.
Steerer tube diameter
 This is how your fork fits into the frame’s head tube. Your stem and handlebars clamp to the end of the steerer tube.
Older road and mountain bikes: Straight 1 1/8” steerer tubes, or 1" for vintage models.
Newer road and mountain bikes: Tapered steerer tubes — 1 1/2” at the bottom tapering to 1 1/8” at the top of the head tube is common for most mountain bike forks. Road, gravel, and, cross forks are usually 1 1/4" at the base and taper to 1 1/8".
Odd sizes: Straight 1 1/4” or 1 1/2” steerer tubes seen on Giant overdrive and older Cannondale Lefty.
Other compatibility considerations when you build a bike
Disc rotors and wheels: There are two options, Centerlock and six-bolt.
Tires and rims: If you want tubeless, make sure the rims and tires are both tubeless-ready. Note that some tubeless tires are not approved for use with hookless rims.
Cassette: Your rear wheel’s cassette driver must match your cassette. Many road bikes usually employ a standard 10-speed or 11-speed freehub (they're different lengths) or an XDR freehub for SRAM 12-speed. On a mountain bike, you may need an XD driver freehub for wide-range SRAM cassettes or a Microspline for 12-speed Shimano. Campagnolo has a proprietary freehub and cassette design for both its 12-speed road and 13-speed gravel groups.
Shifting components: Though there is some cross compatibility, you typically do not want to mix brands, and you want to always match the cog count (i.e., speeds) for cassette, rear derailleur, and shifter.
Front hub spacing and axle: Especially on mountain bikes, make sure your fork and front axle match. The modern standard is 15x110mm — also known as Boost. Some older disc brake road and cyclocross bikes have 15x100mm axles, while newer forks and wheels have 12x100mm axles.
[button]SHOP COMPONENTS[/button]
Embrace the challenge and build your own bike!
Plan ahead, make a list, and stay organized. But above all, approach the process of building a bike from the frame up with the right mindset. You’re likely to encounter some challenges along the way. It will be worth it when you’re done. There are safety nets available as well, depending on your location. If you need in-person help, advice, or rescue along the way, a good local bike shop may be able to offer assistance. TPC’s Louisville/Denver bike shop offers a full array of services, including building your bike from the frame up.
In the end, you’ll have a greater understanding of and appreciation for how bikes actually work. This project can deepen the connection you have with your machine. Building a bike up is an accomplishment. Every bike I’ve ever built up on my own from a bare frame has had a special place in my heart, and each has been an experience that I'll never forget.
If you're curious about building a bike up from a frame, there's no better time to start than now! Leave us a comment below with your questions or a story about a bike that you built from scratch.
[button]SHOP BIKE FRAMES[/button]